🏊 Pool Catalog
Access
Client → Installations tab → Add. Pool file: Active Maintenance Plan + Add to Service block (catalog parameters/tasks).
Estimated time: 12 minutes of reading + 5 minutes of practice
Level: 🟢 Easy
At the end: You will know how to create pools and configure them correctly
🎯 What are you going to learn?
In this guide:
- ✅ How to add a pool to a client
- ✅ What data is important (GPS, address...)
- ✅ Configure tasks to perform
- ✅ Configure parameters to measure
- ✅ Difference between public and private pool
🏗️ Key concept: Customer vs Pool
Always remember:
CUSTOMER = Who pays (once per invoice) POOL = Where you work (can be several)
Practical example:
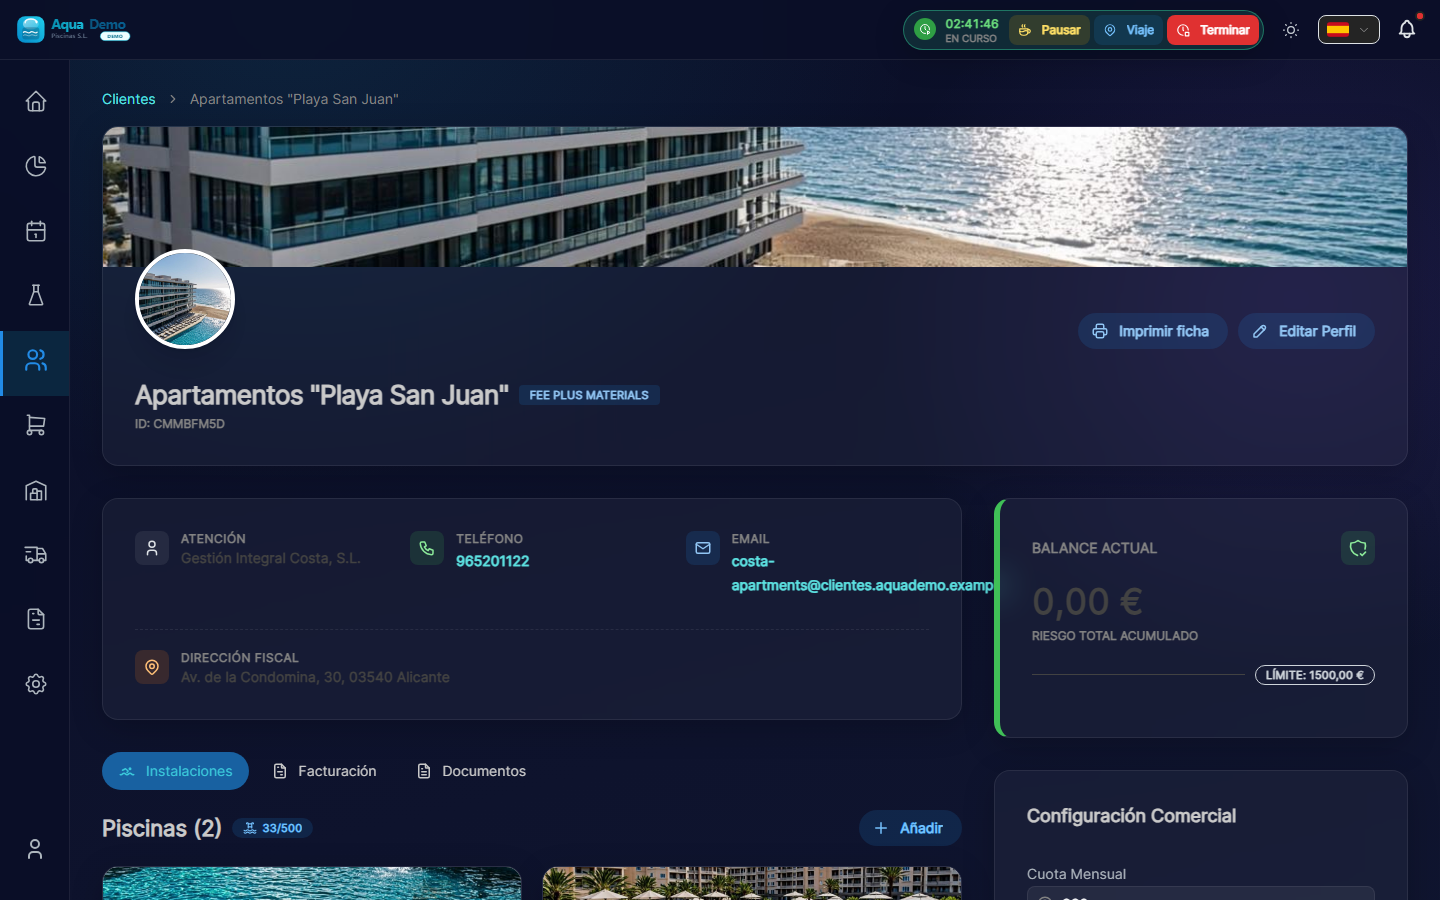
Captura con datos demo AquaDemo.Capture with AquaDemo demo data.Capture with demo manager user (AquaDemo data).
Upon entering you will see:
- List of pools you already have (if you have them)
- One button "+ Add Pool"
📝 STEP 3: Create a new pool
3.1 Press "+ Add Pool"
3.2 Fill out the form
We go field by field:
Field: "Pool Name" ⭐ (Required)
What to enter: A descriptive name that identifies the pool.
Correct examples:
- ✅ "Main Pool" (if there is only one)
- ✅ "Adult Pool"
- ✅ "Children's Pool"
- ✅ "Jacuzzi"
- ✅ "Olympic Pool"
- ✅ "Indoor Pool"
Incorrect examples:
- ❌ "La Palmera Hotel Pool" (it's redundant, we already know the client)
- ❌ "The pool" (very generic)
- ❌ "" (empty)
💡 Trick
If the client has several, give clear names: "Main", "Children", "Jacuzzi". This way the technicians know which is which.
Field: "Address"
What to enter: The physical address where the pool is.
Important: It may be different from the client's tax address.
Examples:
| Client | Tax address | Pool address |
|---|---|---|
| Hotel La Palmera | Av. Constitución 45 | Calle Mayor 123 (same building) |
| El Sol Community | C/ Alcalá 100 | El Sol Urbanization, Block 3 (community pool) |
Fields:
- Street: "Calle Mayor, 123"
- Postal Code: "28001"
- City: "Madrid"
- Province: "Madrid"
Field: "GPS Coordinates" ⭐ (VERY IMPORTANT)
What it is for: So that the technician can navigate with his mobile phone to the exact pool.
Why it is important:
- Many swimming pools are in large urbanizations
- Sometimes the postal address does not match the actual entry
- GPS takes you exactly to the site
How to put the coordinates:
Option A: Search the map (recommended)
- Press the map button 🗺️
- A map appears with a red pin
- Type the address in the search bar
- Press "Search"
- The map moves to that direction
- Drag the red pin until it is exactly over the pool
- Press "Confirm"
Option B: If you have the exact coordinates
- Latitude: 40.4168
- Length: -3.7038
⚠️ Be careful with precision!
If you put the pin at the entrance of the building, the technician will waste time searching. Try to put it just:
- Above the pool (if seen on satellite)
- Or at the access door to the pool area
- Or where the technician should park
The time the technician wastes searching is money you lose.
Field: "Pool Type"
Options:
| Option | Meaning | Example |
|---|---|---|
| Public | Shared by several people | Hotels, communities, clubs |
| Private | For private use | Houses, chalets |
Why does it matter? Some settings change depending on the type. Public ones usually need more parameter control.
Field: "Status"
Options:
- Active → Cleaned regularly
- Inactive → Temporarily closed (e.g. winter)
- Under construction → Not ready yet
When to use "Inactive":
- Pools that close in winter
- Pools under renovation
- Pools that the client has decided not to use temporarily
💡 Season trick
If you have seasonal clients, put the pools "Inactive" in winter and "Active" in summer. This way they don't appear on the calendar when it's not time to clean them.
📝 STEP 4: Save the pool
- Check that everything is fine
- Press "Save"
- You will see the pool added to the list
📝 STEP 5: Configure the pool (Tasks and Parameters)
Now you must tell the program what the technician should do in this pool.
5.1 Enter settings
- In the pool list, click on the pool name
- Go to the "Settings" tab
5.2 Configure Parameters to Measure
Here you mark what values the water technician should take:
Available parameters:
| Parameter | What is it for? | Always necessary? |
|---|---|---|
| pH | Water acidity level | ✅ YES, always |
| Free chlorine | Water disinfection | ✅ YES, always |
| Temperature | Degrees of water | ⚪ Optional |
| Alkalinity | pH stability | ⚪ Optional (large pools) |
| Hardness | Amount of minerals | ⚪ Optional (large pools) |
Recommendation to get started:
☑️ pH (obligatorio)
☑️ Cloro libre (obligatorio)
☑️ Temperatura (recomendado)
☐ Alcalinidad (solo si el cliente paga análisis completo)
☐ Dureza (solo si el cliente paga análisis completo)
5.3 Configure Tasks to Perform
Here you mark what the technician should do every time he goes:
Typical tasks:
| Task | Description | When to mark it? |
|---|---|---|
| Pool Cleaner | Clean the pool floor with a vacuum cleaner | Whenever there is dirt |
| Surface | Collect leaves with the net pot | If there are trees nearby |
| Skimmer | Clean overflows | Always |
| Brush walls | Rub the walls | If there is algae or dirt attached |
| Check purifier | Check that it works well | If it is included in the service |
| Empty prefilter | Clean the purifier basket | Every week or as needed |
Example of standard configuration:
☑️ Limpiafondos
☑️ Superficie
☑️ Skimmer
☐ Cepillar paredes (solo cuando sea necesario)
☑️ Revisar depuradora
☐ Vaciar prefiltro (el técnico lo marca manualmente cuando toca)
💡 Customize by pool
- The children's pool may need less chlorine → Write it down in notes
- The large pool may need more time → You configure the duration of the visit
- The indoor pool does not need surface (no leaves get in)
📊 Complete Example
Scenario: We are going to configure the Hotel La Palmera that has 2 swimming pools.
Pool 1: "Main"
- Address: Calle Mayor 123 (same as the hotel)
- GPS: Exact pin position in the large pool
- Type: Public
- Parameters: pH, Chlorine, Temperature
- Tasks: Pool cleaner, Surface, Skimmer, Check purifier
- Notes: "A lot of use in summer, watch chlorine"
Pool 2: "Children's"
- Address: Calle Mayor 123 (same)
- GPS: Pin placed in the small pool (next to the main one)
- Type: Public
- Parameters: pH, Chlorine, Temperature
- Tasks: Pool Cleaner, Skimmer
- Notes: "Use less bleach, small children"
Result:
- When the technician goes to the Hotel, he will do 2 parts of work
- Each part will have its own measurements and tasks
- Everything will appear together on the invoice under "Hotel La Palmera"
❓ Frequently asked questions
"Can I add photos of the pool?"
Yes, in the pool tab there is a section to upload photos. Useful to remember what it is like or to show incidents.
"What if a pool is in another city?"
The address and GPS can be from another city, no problem. The important thing is that the technician knows how to go.
"Can I move a pool from one client to another?"
Yes, but it's strange. Only if there was an error creating it.
"Can the technician change the tasks to be done?"
No, the technician can only mark them as done or not. You configure the tasks to be performed here.
"Can I have pools without a customer?"
No. Every pool must belong to a client.
✅ Checklist: Have you set up the pool correctly?
- [ ] I gave it a clear and descriptive name
- [ ] I put the correct address
- [ ] I set accurate GPS (important)
- [ ] I chose the type (Public/Private)
- [ ] I selected the parameters to measure (mandatory pH and Chlorine)
- [ ] I selected the tasks to be performed
- [ ] Added useful notes if necessary