🏊 Pool Catalog
Access
Client → Installations tab → Add. Pool file: Active Maintenance Plan + Add to Service block (catalog parameters/tasks).
Estimated time: 12 minutes of reading + 5 minutes of practice
Level: 🟢 Easy
At the end: You will know how to create pools and configure them correctly
🎯 What are you going to learn?
In this guide:
- ✅ How to add a pool to a client
- ✅ What data is important (GPS, address...)
- ✅ Configure tasks to perform
- ✅ Configure parameters to measure
- ✅ Difference between public and private pool
🏗️ Key concept: Customer vs Pool
Always remember:
CUSTOMER = Who pays (once per invoice) POOL = Where you work (can be several)
Practical example:
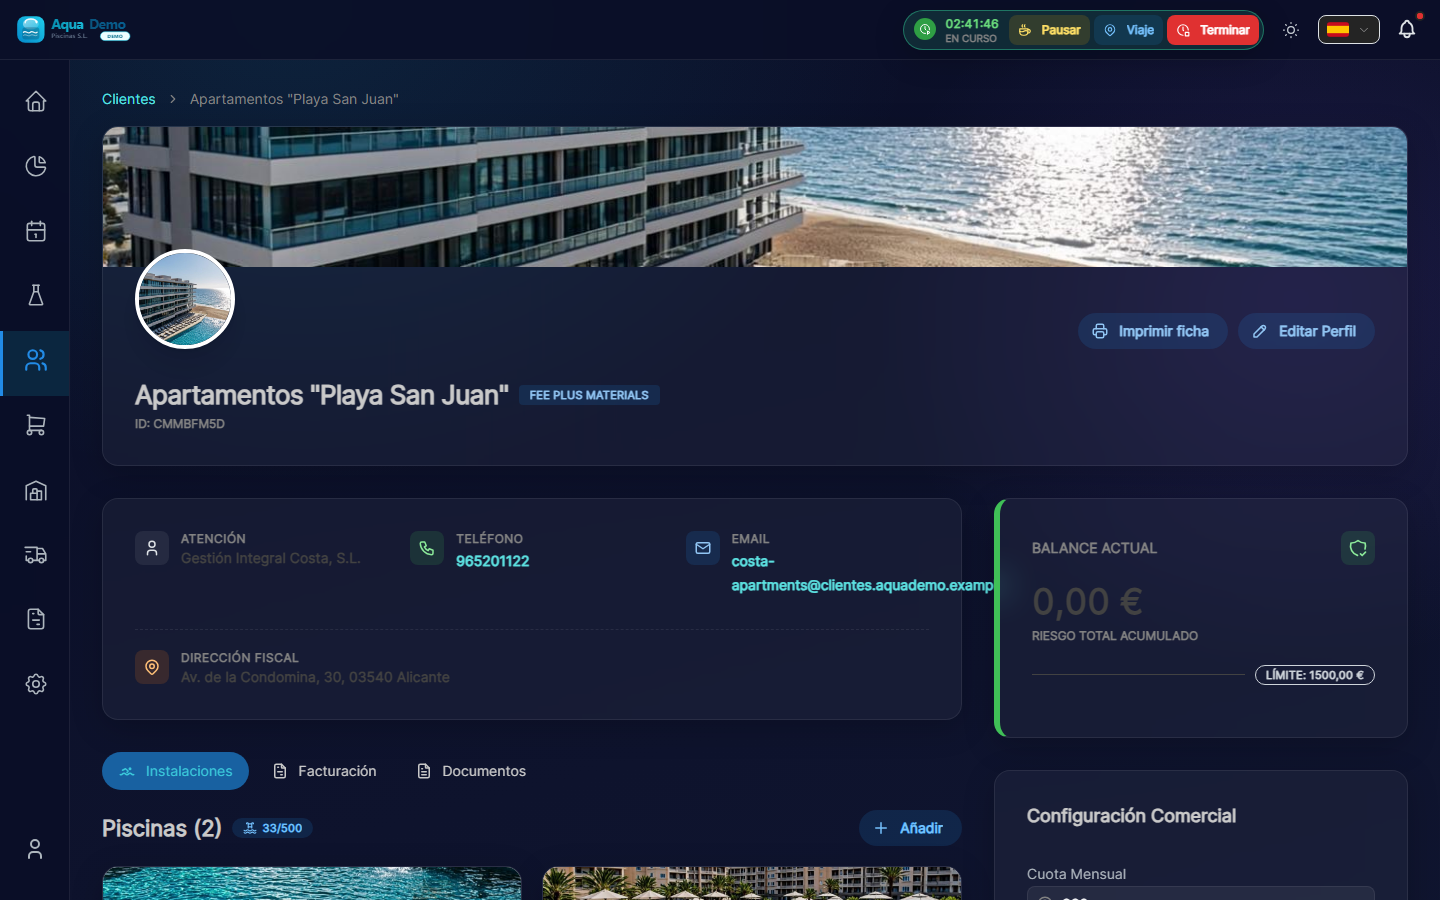
Captura con datos demo AquaDemo.Capture with AquaDemo demo data.Capture with demo manager user (AquaDemo data).
Upon entering you will see:
- List of pools you already have (if you have them)
- One button "+ Add Pool"
📝 STEP 3: Create a new pool
3.1 Press "+ Add Pool"
3.2 Fill out the form
We go field by field:
Field: "Pool Name" ⭐ (Required)
What to enter: A descriptive name that identifies the pool.
Correct examples:
- ✅ "Main Pool" (if there is only one)
- ✅ "Adult Pool"
- ✅ "Children's Pool"
- ✅ "Jacuzzi"
- ✅ "Olympic Pool"
- ✅ "Indoor Pool"
Incorrect examples:
- ❌ "La Palmera Hotel Pool" (it's redundant, we already know the client)
- ❌ "The pool" (very generic)
- ❌ "" (empty)
💡 Trick
If the client has several, give clear names: "Main", "Children", "Jacuzzi". This way the technicians know which is which.
Field: "Address"
What to enter: The physical address where the pool is.
Important: It may be different from the client's tax address.
Examples:
| Client | Tax address | Pool address |
|---|---|---|
| Hotel La Palmera | Av. Constitución 45 | Calle Mayor 123 (same building) |
| El Sol Community | C/ Alcalá 100 | El Sol Urbanization, Block 3 (community pool) |
Fields:
- Street: "Calle Mayor, 123"
- Postal Code: "28001"
- City: "Madrid"
- Province: "Madrid"
Field: "GPS Coordinates" ⭐ (VERY IMPORTANT)
What it is for: So that the technician can navigate with his mobile phone to the exact pool.
Why it is important:
- Many swimming pools are in large urbanizations
- Sometimes the postal address does not match the actual entry
- GPS takes you exactly to the site
How to put the coordinates:
Option A: Search the map (recommended)
- Press the map button 🗺️
- A map appears with a red pin
- Type the address in the search bar
- Press "Search"
- The map moves to that direction
- Drag the red pin until it is exactly over the pool
- Press "Confirm"
Option B: If you have the exact coordinates
- Latitude: 40.4168
- Length: -3.7038
⚠️ Be careful with precision!
If you put the pin at the entrance of the building, the technician will waste time searching. Try to put it just:
- Above the pool (if seen on satellite)
- Or at the access door to the pool area
- Or where the technician should park
The time the technician wastes searching is money you lose.
Field: "Pool Type"
Options:
| Option | Meaning | Example |
|---|---|---|
| Public | Shared by several people | Hotels, communities, clubs |
| Private | For private use | Houses, chalets |
Why does it matter? Some settings change depending on the type. Public ones usually need more parameter control.
Field: "Status"
Options:
- Active → Cleaned regularly
- Inactive → Temporarily closed (e.g. winter)
- Under construction → Not ready yet
When to use "Inactive":
- Pools that close in winter
- Pools under renovation
- Pools that the client has decided not to use temporarily
💡 Season trick
If you have seasonal clients, put the pools "Inactive" in winter and "Active" in summer. This way they don't appear on the calendar when it's not time to clean them.
📝 STEP 4: Save the pool
- Check that everything is fine
- Press "Save"
- You will see the pool added to the list
📝 STEP 5: Configure the pool (Tasks and Parameters)
Now you must tell the program what the technician should do in this pool.
5.1 Enter settings
- In the pool list, click on the pool name
- Go to the "Settings" tab
5.2 Configure Parameters to Measure
Here you mark what values the water technician should take:
Available parameters:
| Parameter | What is it for? | Always necessary? |
|---|---|---|
| pH | Water acidity level | ✅ YES, always |
| Free chlorine | Water disinfection | ✅ YES, always |
| Temperature | Degrees of water | ⚪ Optional |
| Alkalinity | pH stability | ⚪ Optional (large pools) |
| Hardness | Amount of minerals | ⚪ Optional (large pools) |
Recommendation to get started:
☑️ pH (obligatorio)
☑️ Cloro libre (obligatorio)
☑️ Temperatura (recomendado)
☐ Alcalinidad (solo si el cliente paga análisis completo)
☐ Dureza (solo si el cliente paga análisis completo)
5.3 Configurer les tâches à effectuer
Ici, vous indiquez ce que le technicien doit faire à chaque fois qu'il s'en va :
Tâches typiques :
| Tâche | Descriptif | Quand le marquer ? |
|---|---|---|
| Nettoyeur de piscine | Nettoyer le fond de la piscine avec un aspirateur | Chaque fois qu'il y a de la saleté |
| Surface | Ramassez les feuilles avec le pot en filet | S'il y a des arbres à proximité |
| Écumeur | Nettoyer les débordements | Toujours |
| Murs de brosse | Frottez les murs | S'il y a des algues ou de la saleté attachées |
| Vérifiez le purificateur | Vérifiez que cela fonctionne bien | S'il est inclus dans le service |
| Préfiltre vide | Nettoyer le panier du purificateur | Chaque semaine ou au besoin |
Exemple de configuration standard :
☑️ Limpiafondos
☑️ Superficie
☑️ Skimmer
☐ Cepillar paredes (solo cuando sea necesario)
☑️ Revisar depuradora
☐ Vaciar prefiltro (el técnico lo marca manualmente cuando toca)
::: astuce 💡 Personnaliser par piscine
- La piscine pour enfants peut avoir besoin de moins de chlore → Notez-le dans des notes
- La grande piscine peut nécessiter plus de temps → Vous configurez la durée de la visite
- La piscine intérieure n'a pas besoin de surface (aucune feuille n'y pénètre) :::
📊 Exemple complet
Scénario : Nous allons configurer l'Hôtel La Palmera qui dispose de 2 piscines.
Poule 1 : "Principale"
- Adresse : Calle Mayor 123 (identique à l'hôtel)
- GPS : Position exacte des broches dans la grande piscine
- Type : Public
- Paramètres : pH, Chlore, Température
- Tâches : Nettoyeur de piscine, Surface, Skimmer, Vérifier le purificateur
- Notes : "Beaucoup d'utilisation en été, attention au chlore"
Piscine 2 : "Enfants"
- Adresse : Calle Mayor 123 (identique)
- GPS : Pin placé dans le petit bassin (à côté du principal)
- Type : Public
- Paramètres : pH, Chlore, Température
- Tâches : Nettoyeur de piscine, Skimmer
- Remarques : "Utilisez moins d'eau de Javel, petits enfants"
Résultat :
- Lorsque le technicien se rendra à l'Hôtel, il effectuera 2 parties de travail
- Chaque pièce aura ses propres mesures et tâches
- Tout apparaîtra ensemble sur la facture sous "Hôtel La Palmera"
❓ Questions fréquemment posées
"Puis-je ajouter des photos de la piscine ?"
Oui, dans l'onglet Piscine, il y a une section pour télécharger des photos. Utile pour se rappeler à quoi ça ressemble ou pour montrer des incidents.
"Et si une piscine se trouve dans une autre ville ?"
L'adresse et le GPS peuvent provenir d'une autre ville, pas de problème. L'important est que le technicien sache comment s'y prendre.
"Puis-je déplacer un pool d'un client à un autre ?"
Oui, mais c'est étrange. Seulement s'il y a eu une erreur lors de sa création.
"Le technicien peut-il modifier les tâches à effectuer ?"
Non, le technicien peut uniquement les marquer comme terminés ou non. Vous configurez ici les tâches à effectuer.
"Puis-je avoir des piscines sans client ?"
Non. Chaque pool doit appartenir à un client.
✅ Checklist : Avez-vous correctement configuré la piscine ?
- [ ] Je lui ai donné un nom clair et descriptif
- [ ] J'ai mis la bonne adresse
- [ ] J'ai réglé un GPS précis (important)
- [ ] J'ai choisi le type (Public/Privé)
- [ ] J'ai sélectionné les paramètres à mesurer (pH et chlore obligatoires)
- [ ] J'ai sélectionné les tâches à effectuer
- [ ] Ajout de notes utiles si nécessaire
🎉 Piscine prête !
Désormais, le technicien sait exactement quoi faire lorsqu'il se rend dans cette piscine.