🚀 Quick Guide: Your First 15 Minutes
Estimated time: 15-20 minutes
Level: 🟢 Easy
Upon completion: You will have your first client, your first pool and a scheduled visit
🎯 What are we going to do?
In this guide we are going to take the first basic steps so you can see how PoolControl works. When finished you will have:
- ✅ A registered client (ex: "Hotel La Palmera")
- ✅ A pool associated with that client
- ✅ An assigned technician (or yourself if you work alone)
- ✅ A visit scheduled on the calendar
💡 Advice
Don't worry if the data is not real. This is a practice. Then you can delete everything and start for real, or edit what we created.
📋 BEFORE YOU START: Check this
✅ Do you have access to the program?
- Open your browser (Chrome recommended).
- Go to **https://poolcontrolpro.com/login
**. 3. Enter your email and password. 4. After entering, the app remains at https://poolcontrolpro.com/app/pool-control (dashboard).
You should see the dashboard with tabs above and side menu (the exact menu depends on your role):
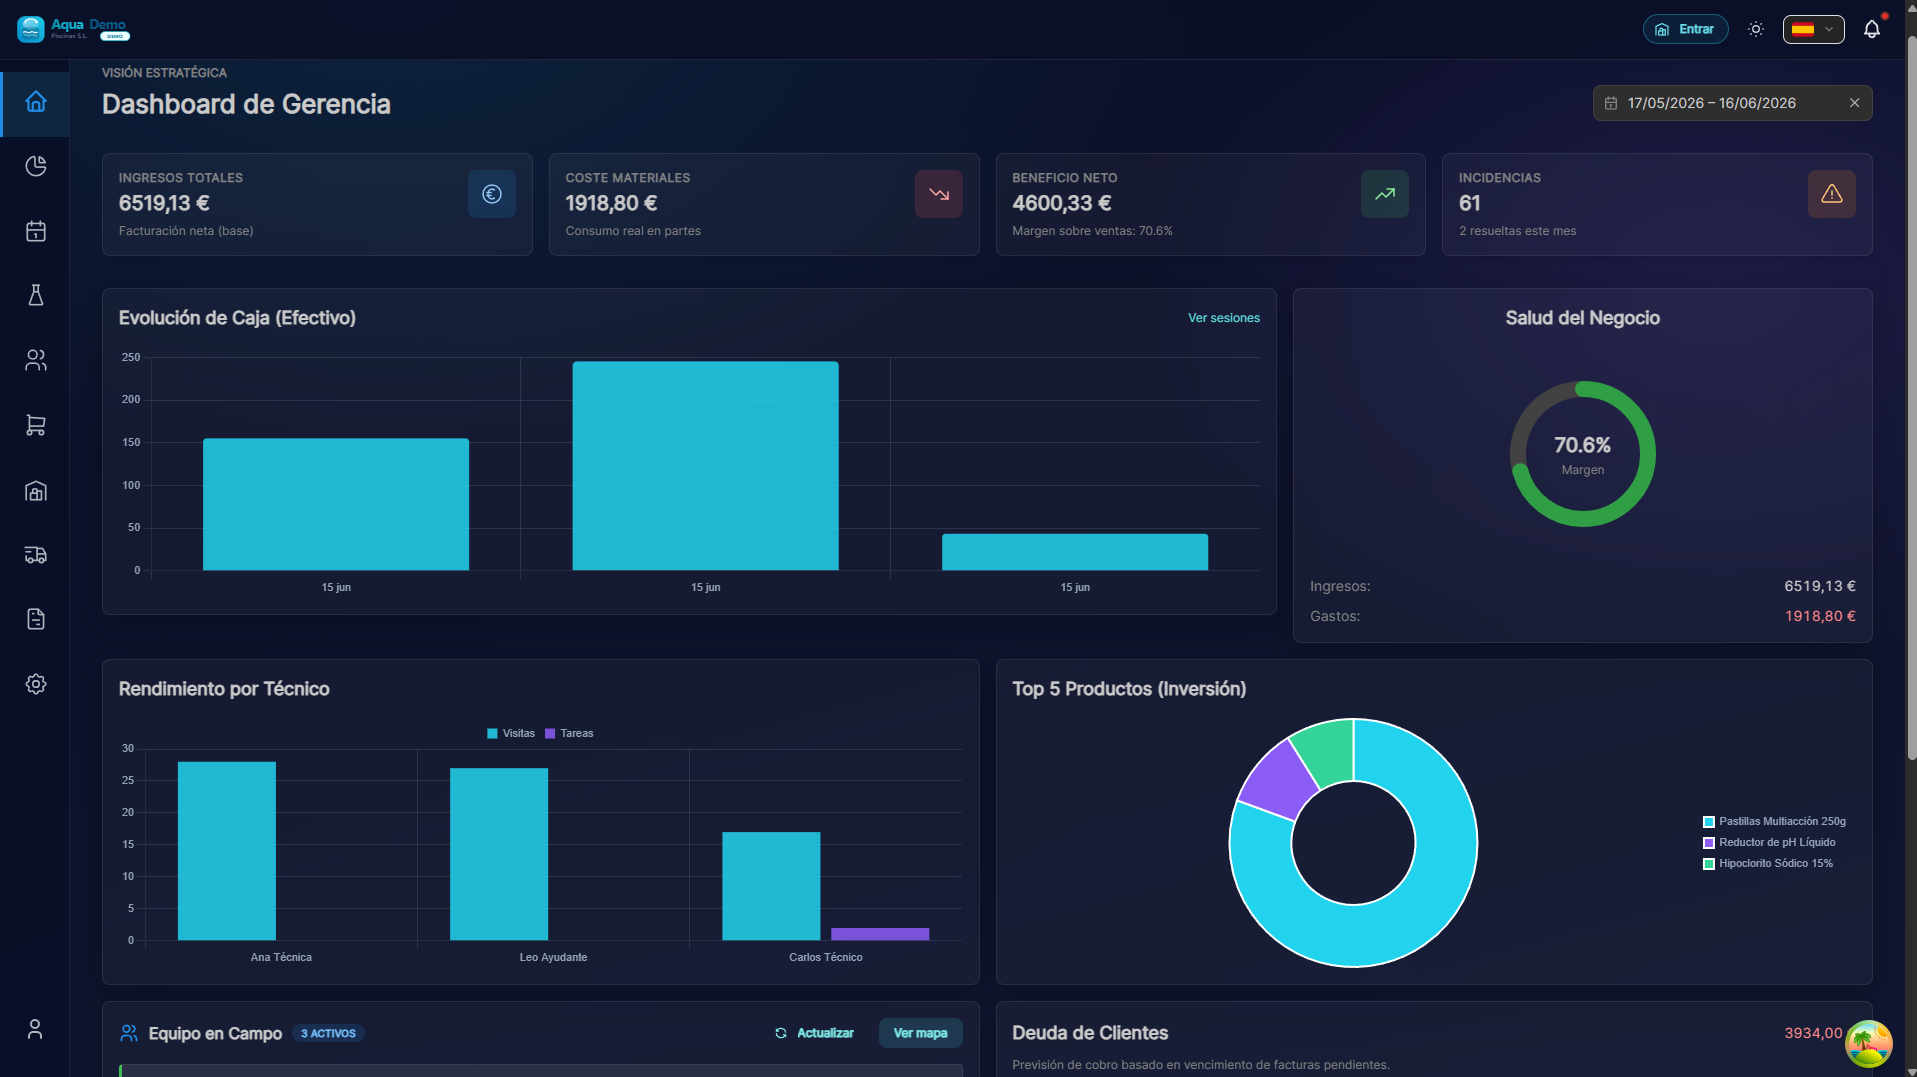
Captura con datos demo AquaDemo.Capture with AquaDemo demo data.If you see this: Perfect! Continue.
If you don't see this:
- Are you getting a password error? → Press "Forgot your password?"
- Is the page not loading? → Check your internet connection
- Another mistake? → Write to us at info@poolcontrolpro.com
✅ Do you have the side menu visible?
The side menu is the bar on the left (or top on mobile) with options such as "Clients", "Planning", "Sales"...
If you don't see it: Look for an icon with three lines ☰ (hamburger menu) and press.
📝 STEP 1: Create your First Client (3 minutes)
What is a client?
A client is the person or company that pays you to clean their pools. It can be:
- A hotel
- A community of neighbors
- A private house
- A sports club
Step by step instructions
1. Go to Clients and Pools
If you see tabs above (Admin/Manager):
- Operational tab.
- Clients and Pools.
If you see a classic single-level menu: Management → Clients and Pools or Clients directly.
Direct path: /app/pool-control/clients
2. Press the "New Customer" button
At the top right you will see a button that says "+ New Customer" (or a blue button with a +):
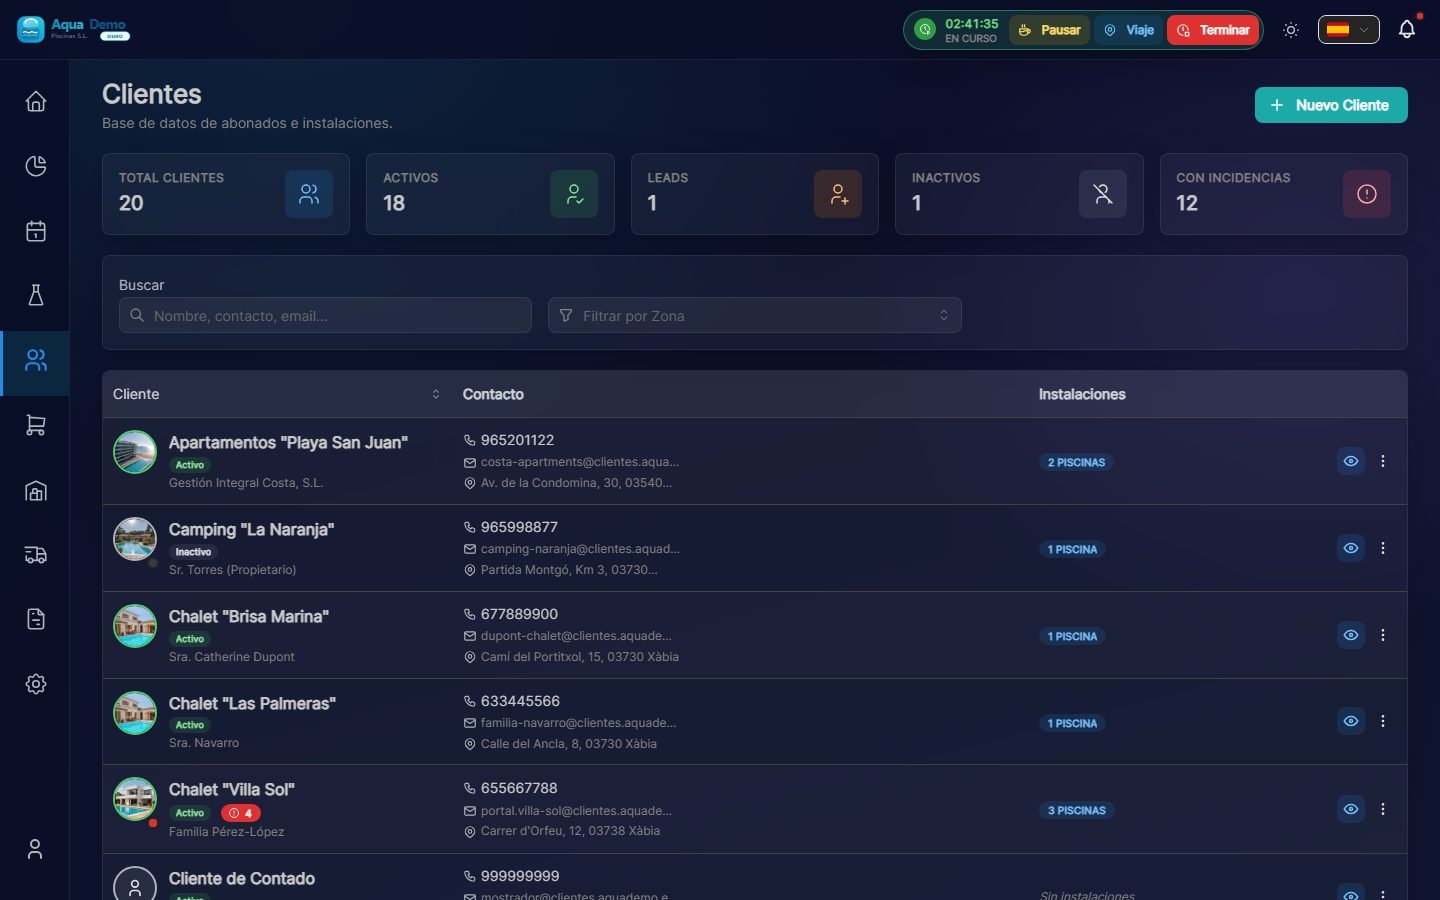
Captura con datos demo AquaDemo.Capture with AquaDemo demo data.
3. Fill in the customer information
A form will open. Let's explain each field:
Field: "Customer Name" (Required)
What to enter: The name of the company or person.
Examples:
- ✅ Hotel La Palmera S.L.
- ✅ Community of Owners El Sol
- ✅ Juan García (private)
- ❌ (do not leave blank)
💡 Trick
If the name contains "Hotel", "Community" or "Club", PoolControl will automatically put a nice icon.
Field: "Customer Type"
What it is: It is used to classify your clients.
Options:
- Active → Normal client you are serving (the majority)- Lead → Potential client who has not yet hired you (you are negotiating)
- Inactive → Client who stopped working with you
What to choose: Select "Active" for this practice.
Field: "Email" (Optional but recommended)
What to enter: The client's email (to send invoices).
Example: recepcion@hotellapalmera.com
Field: "Phone" (Optional)
What to enter: A contact telephone number.
Example: 912345678
Field: "Tax Address"
What to enter: The address that will appear on the invoices. It may be different from the address of the pool.
Example:
- Street: Calle Mayor, 123
- City: Madrid
- Postal Code: 28001
- Province: Madrid
4. Press "Save"
At the bottom you will see a "Save" (or "Create Client") button.
If all goes well: You will see a green message "Customer created successfully" and you will be returned to the customer list where your new customer will appear.
If there is an error: Read the message. Surely you need to fill out a required field (marked with *).
🏊 STEP 2: Add a Pool to the Client (3 minutes)
What is a swimming pool?
The pool is the physical place where you are going to work. A client can have:
- A swimming pool (most houses)
- Various swimming pools (hotels, large communities)
- Pool + jacuzzi (count as 2 different pools)
Step by step instructions
1. Enter the client file
In the customer list, click on the name of the customer (or row) to open the quick view; From there you can go to the complete file:
Captura con datos demo AquaDemo.Capture with AquaDemo demo data.
2. Go to the "Installations" tab
Within the client file you will see tabs such as:
- Facilities ← here are the pools
- Billing (if your role can see it)
- Documents
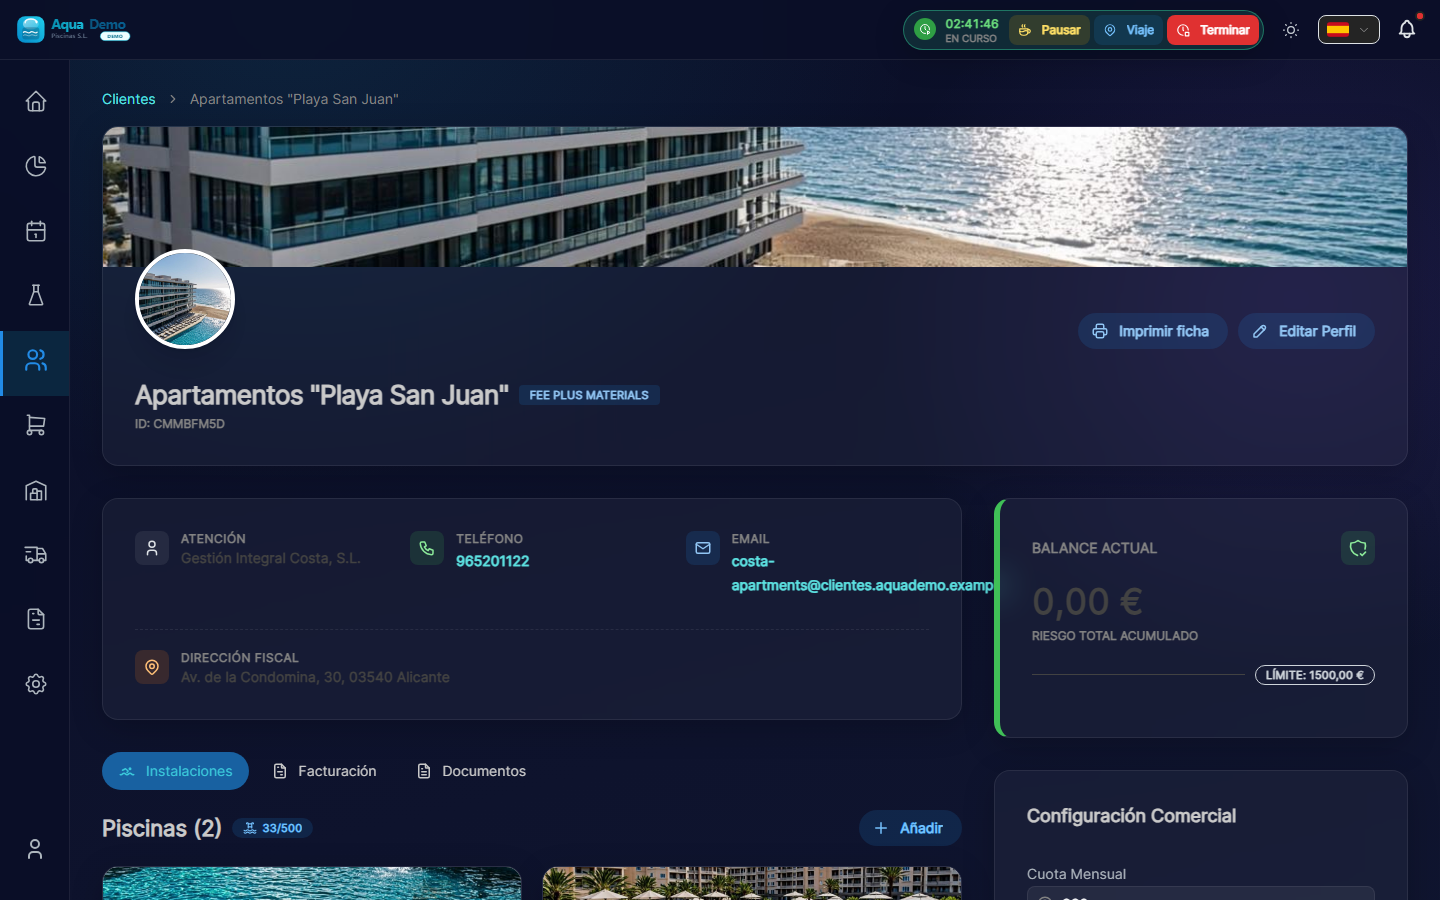
Captura con datos demo AquaDemo.Capture with AquaDemo demo data.
3. Press "Add"
At the top of the list you will see the "Add" button (+ icon).
4. Fill in the pool details
Field: "Pool Name" (Required)
What to enter: A name to identify it.
Examples:
- "Main Pool" (if there is only one)
- "Adult Pool"
- "Children's Pool"
- "Outdoor Jacuzzi"
Field: "Address"
What to put: Where the pool is physically. It may be different from the customer's tax address.
Example:
- Street: El Sol Urbanization, Block 3
- City: Madrid- Postal Code: 28001
Field: "GPS Coordinates" (Very important)
What it is for: So that the technician can navigate with the mobile phone to the exact pool.
How to fill it out:
Option A - Search on the map:
- Press the map button 🗺️
- Type the address in the search bar
- Press "Search"
- Drag the red pin until it is exactly over the pool
- Press "Confirm"
Option B - If you have the exact coordinates:
- Latitude: 40.4168
- Length: -3.7038
⚠️ Important
GPS must be accurate. If you put the pin at the entrance of the building, the technician will get lost. Try putting it right above the pool if it is visible on the satellite, or at the access door to the pool area.
Field: "Pool Type"
Options:
- Public → Shared (communities, hotels, clubs)
- Private → Private house
Select the one that applies.
5. Press "Save"
If all goes well: You will see the pool added to the client's list.
⚙️ STEP 3: Pool maintenance plan (3 minutes, optional)
In the pool file (click its name from Facilities) you will see the block Active Maintenance Plan and, to the right, Add to Service.
Instructions
1. Check the catalog (first time only)
Items come from master tables:
- System (or catalog in Management → Auxiliary Tables): Measurement Parameters and Maintenance Tasks.
If the demo seed already includes pH, chlorine and basic tasks, you can skip this step.
2. Add parameters and tasks to the pool
In the Add to Service column:
- Under PARAMETERS, press for example pH and Free Chlorine.
- Under TASKS, press the ones that apply (pool cleaner, skimmer...).
- For each item you can adjust frequency and thresholds in the Item Configuration modal.
Without an active plan, the technician can still work, but the report will show fewer guided fields.
👷 STEP 4: Create a Technician (or register yourself) (3 minutes)
If you work alone, this step is to register yourself as a technician. If you have employees, you will register them here.
Instructions
1. Go to Team
Tabs: System → Computer.
Path: /app/pool-control/settings/team
2. Press "New Employee"
3. Fill in the data
Field: "Name" (Required)
Example: Juan García
Field: "Email" (Required)
Example: juan@yourcompany.com
⚠️ Important
This email is so that the technician can enter the app. It must be a real email that the technician has access to.
Field: "Role"
Options:
- Technician → He only sees his pools and his work (choose this)
- Manager → Can view and edit almost everything
- Admin → Full control
What to choose: "Technical"
Field: "Color"
What it is for: On the calendar, this technician's visits will appear in this color.
Example: Blue
4. Press "Save"
What happens now:
- The user is created
- The technician will receive an email to activate his account
- It will appear on the calendar to assign visits
📅 STEP 5: Schedule a Visit (3 minutes)
The moment of truth has arrived! We are going to tell the program that Juan (your technician) must go to the Hotel La Palmera.
Instructions
1. Open the Agenda
Operational → Agenda (Drag & Drop) (/app/pool-control/planner).
2. Create a one-time visit
- Press + Visit (top in the agenda).
- The Schedule Visit modal opens.
- Fill:
- Pool — the one you created.
- Technician — the technical user from step 4.
- Date and time — for example tomorrow at 10:00.
- Duration — minimum 15 min (by default it is usually 60).
- Press Create Visit.
Visits that repeat themselves
For fixed weekly maintenance, use Master Routes (Operation → Master Routes), not just individual visits in the agenda.
3. Alternative: Drag from the dock
If you see the pending work panel in the agenda, you can drag visits to the calendar (depending on permissions).
Congratulations! You have just created your first scheduled visit.
🎉 WHAT NOW?
To view the visit on the calendar:
- Go to Planning
- Search for the date you chose
- You will see a small blue square (or the color of the technician) with the name of the pool
For the technician to see it on the mobile:
- Same website: https://poolcontrolpro.com/login (can be installed as a shortcut / PWA).
- Enter with your email and password.
- If you have multiple roles, choose Technician view in the profile.
- Go to My Route — the visit appears there.
✅ Checklist: Have you achieved it?
Check that you have all this:
- [ ] A client created (Hotel La Palmera or the one you put)
- [ ] A pool associated with that client
- [ ] The pool has GPS configured
- [ ] The pool has configured tasks (clean bottom, etc.)
- [ ] A created technician (Juan García or the one you put)
- [ ] A visit scheduled in the calendar
If something is missing: Return to the corresponding step.
🆘 If something hasn't worked for you...
"I can't find the New Customer button"
→ Operations → Clients and Pools (or Management → Clients). The New Customer button is at the top right. You need client editing permission.
"It won't let me save"
→ See if there are any fields marked in red or with an *. They are mandatory.
"I created the visit but I don't see it on the calendar"
→ Check the date with the calendar arrows. Check technical and zone filters in the top bar of the agenda.
"My technician does not receive the email"
→ Check the Spam folder. If it's not there, go to Settings → Team, edit the technician, and tap "Resend invitation."
🚀 Now what?
You have several options:
Option 1: Keep practicing
👉 Complete Configuration Checklist - Everything you need to be 100% operational.
Option 2: Learn a specific function
👉 Use search and write what you want to learn (ex: "how to make invoices")
Option 3: Solve a problem
👉 Go to Troubleshooting
You have completed your first setup. Now you know:
- ✅ What is a client and a pool
- ✅ How to create visits
- ✅ How the calendar works
Remember: This was just practice. Whenever you want, delete this test data and start with your real customers.
Questions? Write to us at info@poolcontrolpro.com