🚀 快速指南:您的前 15 分钟
预计时间: 15-20 分钟
级别: 🟢 简单
完成后: 您将拥有您的第一个客户、您的第一个池和预定的访问
🎯 我们要做什么?
在本指南中,我们将采取第一个基本步骤,以便您了解 PoolControl 的工作原理。完成后您将拥有:
- ✅ 注册客户(例如:“Hotel La Palmera”)
- ✅ 与该客户端关联的池
- ✅ 指定的技术人员(如果您独自工作,则为您自己)
- ✅ 日历上安排的访问
::: 提示💡建议 如果数据不真实,请不要担心。这是一种实践。然后您可以删除所有内容并开始真正的操作,或者编辑我们创建的内容。 :::
📋 开始之前:检查一下
✅ 您有权访问该计划吗?
- 打开浏览器(推荐使用 Chrome)。
- 转至 **https://poolcontrolpro.com/login
。 3. 输入您的电子邮件和密码。 4.进入后,应用程序保持在https://poolcontrolpro.com/app/pool-control** (仪表板)。
您应该看到仪表板,上面有选项卡和侧面菜单(确切的菜单取决于您的角色):
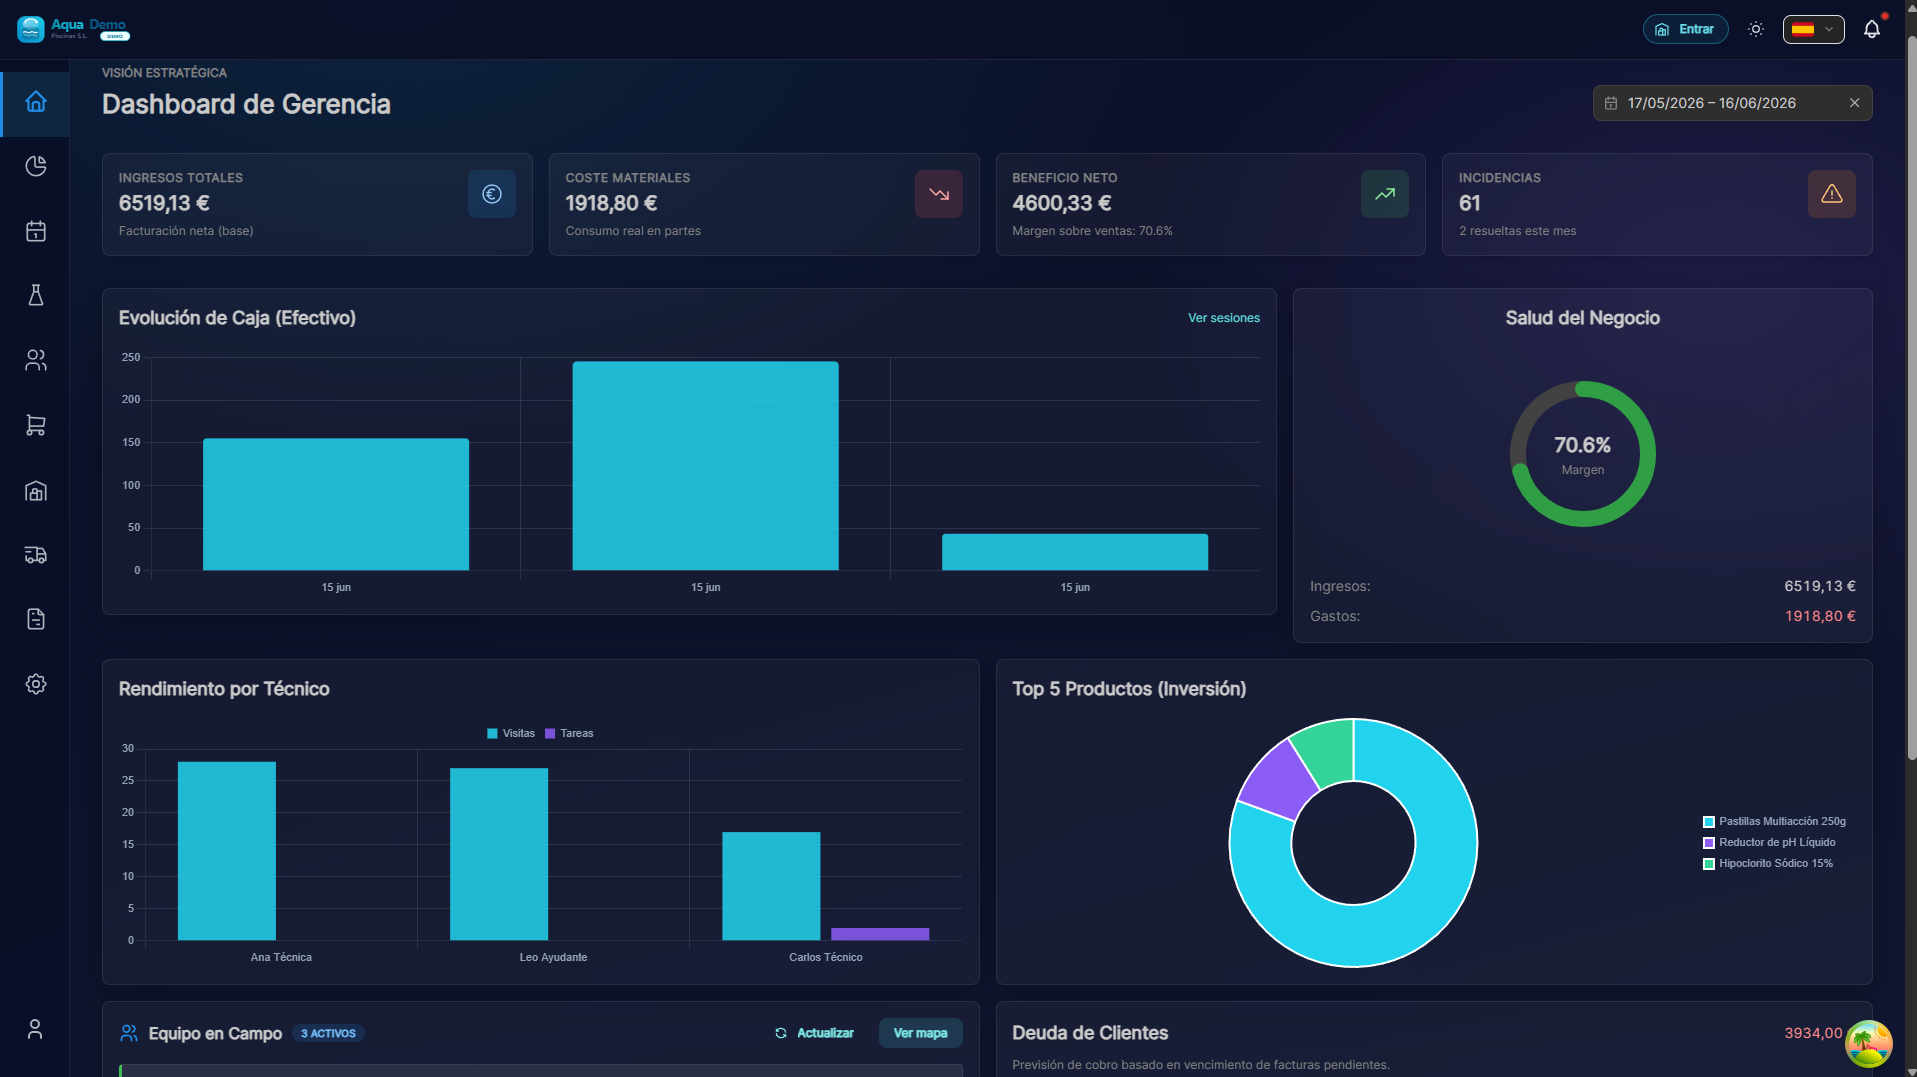
Captura con datos demo AquaDemo.使用 AquaDemo 演示数据捕获。如果你看到这个: 完美!继续。
如果你没有看到这个:
- 您是否收到密码错误? → 按“忘记密码?”
- 页面未加载? → 检查您的互联网连接
- 又一个错误? → 写信给我们:info@poolcontrolpro.com
✅ 侧面菜单可见吗?
侧面菜单是左侧(或移动设备顶部)的栏,其中包含“客户”、“计划”、“销售”等选项...
如果您没有看到它: 查找带有三行 ☰(汉堡菜单)的图标,然后按。
📝 第 1 步:创建您的第一个客户(3 分钟)
什么是客户端?
客户是付钱给您清洁泳池的个人或公司。它可以是:
- 一家酒店
- 邻居社区
- 私人住宅
- 一个体育俱乐部
分步说明
1. 转到客户端和池
如果您看到上面的选项卡(管理员/经理):
- 操作选项卡。
- 客户端和矿池。
如果您看到经典的单级菜单: 管理→客户端和池或直接客户端。
直接路径:/app/pool-control/clients#### 2. Press the "New Customer" button
At the top right you will see a button that says "+ New Customer" (or a blue button with a +):
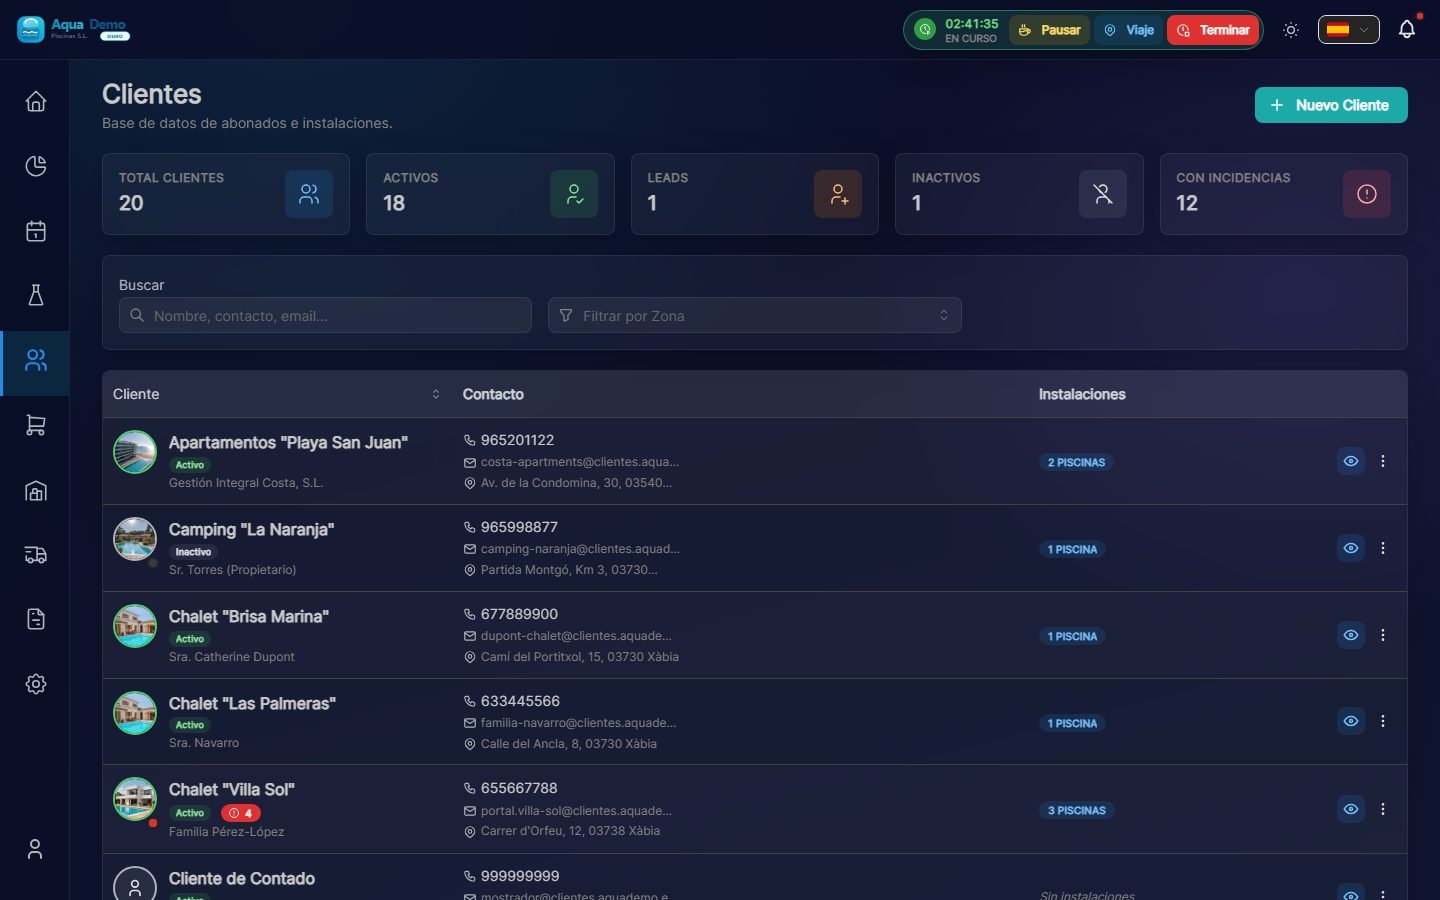
Captura con datos demo AquaDemo.Capture with AquaDemo demo data.
3. Fill in the customer information
A form will open. Let's explain each field:
Field: "Customer Name" (Required)
What to enter: The name of the company or person.
Examples:
- ✅ Hotel La Palmera S.L.
- ✅ Community of Owners El Sol
- ✅ Juan García (private)
- ❌ (do not leave blank)
💡 Trick
If the name contains "Hotel", "Community" or "Club", PoolControl will automatically put a nice icon.
Field: "Customer Type"
What it is: It is used to classify your clients.
Options:
- Active → Normal client you are serving (the majority)- Lead → Potential client who has not yet hired you (you are negotiating)
- Inactive → Client who stopped working with you
What to choose: Select "Active" for this practice.
Field: "Email" (Optional but recommended)
What to enter: The client's email (to send invoices).
Example: recepcion@hotellapalmera.com
Field: "Phone" (Optional)
What to enter: A contact telephone number.
Example: 912345678
Field: "Tax Address"
What to enter: The address that will appear on the invoices. It may be different from the address of the pool.
Example:
- Street: Calle Mayor, 123
- City: Madrid
- Postal Code: 28001
- Province: Madrid
4. Press "Save"
At the bottom you will see a "Save" (or "Create Client") button.
If all goes well: You will see a green message "Customer created successfully" and you will be returned to the customer list where your new customer will appear.
If there is an error: Read the message. Surely you need to fill out a required field (marked with *).
🏊 STEP 2: Add a Pool to the Client (3 minutes)
What is a swimming pool?
The pool is the physical place where you are going to work. A client can have:
- A swimming pool (most houses)
- Various swimming pools (hotels, large communities)
- Pool + jacuzzi (count as 2 different pools)
Step by step instructions
1. Enter the client file
In the customer list, click on the name of the customer (or row) to open the quick view; From there you can go to the complete file:
Captura con datos demo AquaDemo.Capture with AquaDemo demo data.
2. Go to the "Installations" tab
Within the client file you will see tabs such as:
- Facilities ← here are the pools
- Billing (if your role can see it)
- Documents
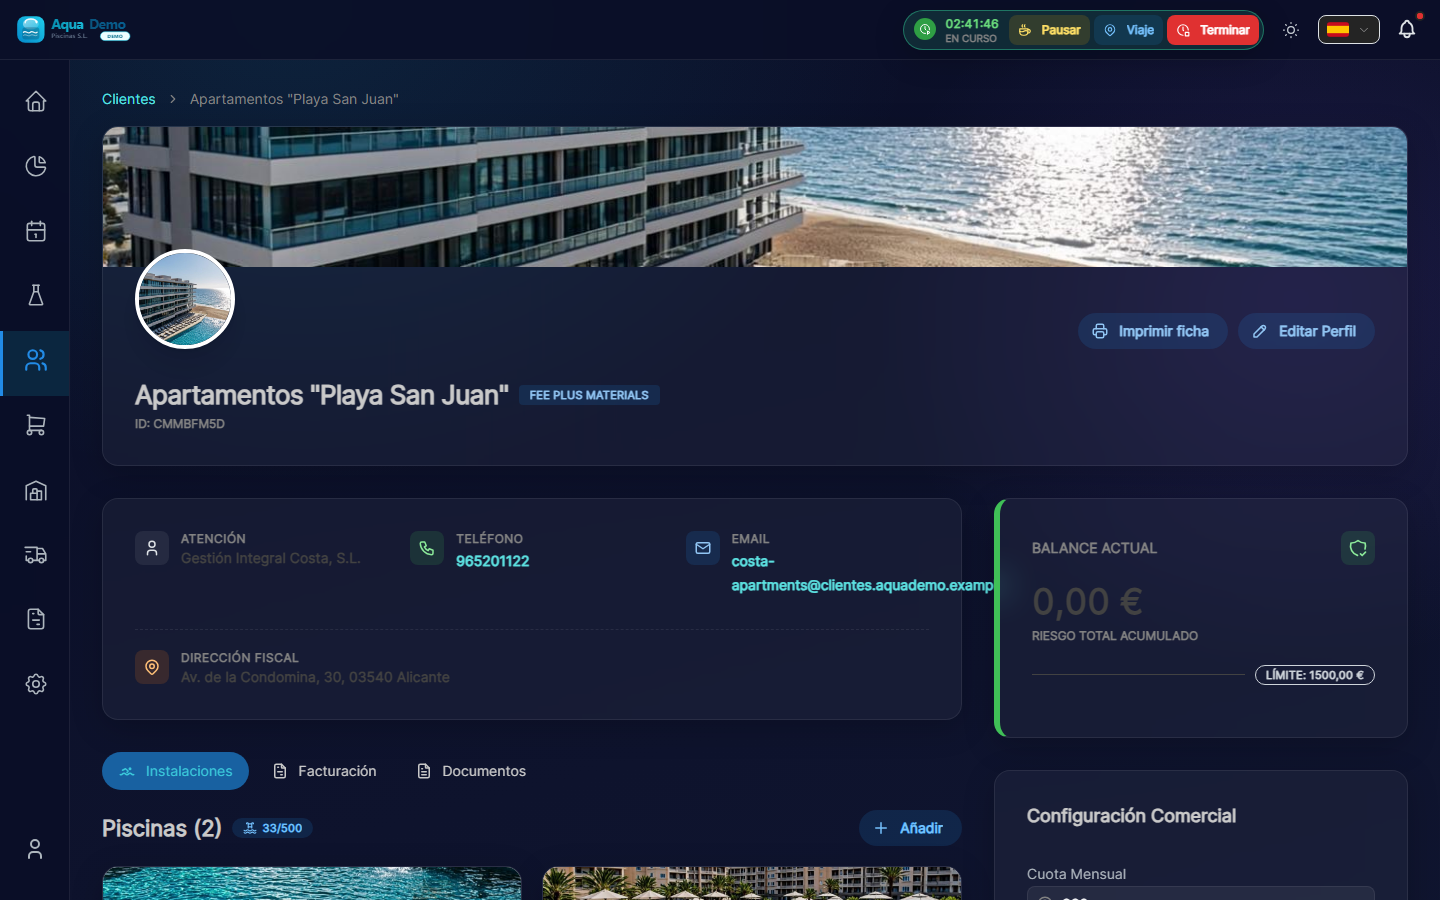
Captura con datos demo AquaDemo.Capture with AquaDemo demo data.
3. Press "Add"
At the top of the list you will see the "Add" button (+ icon).
4. Fill in the pool details
Field: "Pool Name" (Required)
What to enter: A name to identify it.
Examples:
- "Main Pool" (if there is only one)
- "Adult Pool"
- "Children's Pool"
- "Outdoor Jacuzzi"
Field: "Address"
What to put: Where the pool is physically. It may be different from the customer's tax address.
Example:
- Street: El Sol Urbanization, Block 3
- City: Madrid- Postal Code: 28001
Field: "GPS Coordinates" (Very important)
What it is for: So that the technician can navigate with the mobile phone to the exact pool.
How to fill it out:
Option A - Search on the map:
- Press the map button 🗺️
- Type the address in the search bar
- Press "Search"
- Drag the red pin until it is exactly over the pool
- Press "Confirm"
Option B - If you have the exact coordinates:
- Latitude: 40.4168
- Length: -3.7038
⚠️ Important
GPS must be accurate. If you put the pin at the entrance of the building, the technician will get lost. Try putting it right above the pool if it is visible on the satellite, or at the access door to the pool area.
Field: "Pool Type"
Options:
- Public → Shared (communities, hotels, clubs)
- Private → Private house
Select the one that applies.
5. Press "Save"
If all goes well: You will see the pool added to the client's list.
⚙️ STEP 3: Pool maintenance plan (3 minutes, optional)
In the pool file (click its name from Facilities) you will see the block Active Maintenance Plan and, to the right, Add to Service.
Instructions
1. Check the catalog (first time only)
Items come from master tables:
- System (or catalog in Management → Auxiliary Tables): Measurement Parameters and Maintenance Tasks.
If the demo seed already includes pH, chlorine and basic tasks, you can skip this step.
2. Add parameters and tasks to the pool
In the Add to Service column:
- Under PARAMETERS, press for example pH and Free Chlorine.
- Under TASKS, press the ones that apply (pool cleaner, skimmer...).
- For each item you can adjust frequency and thresholds in the Item Configuration modal.
Without an active plan, the technician can still work, but the report will show fewer guided fields.
👷 STEP 4: Create a Technician (or register yourself) (3 minutes)
If you work alone, this step is to register yourself as a technician. If you have employees, you will register them here.
Instructions
1. Go to Team
Tabs: System → Computer.
Path:/app/pool-control/settings/team#### 2. 按“新员工”
3.填写数据
字段:“名称”(必填)
示例: 胡安·加西亚
字段:“电子邮件”(必填)
::: 警告 ⚠️ 重要 此电子邮件用于让技术人员可以进入该应用程序。它必须是技术人员可以访问的真实电子邮件。 :::
字段:“角色”
选项:
- 技术员 → 他只看到他的泳池和他的工作(选择此项)
- 经理 → 可以查看和编辑几乎所有内容
- 管理员 → 完全控制
选择什么:“技术”
字段:“颜色”
用途: 在日历上,该技术人员的访问将以这种颜色显示。
示例: 蓝色
4. 按“保存”
现在发生了什么:
- 用户已创建
- 技术人员将收到一封电子邮件以激活其帐户
- 它将出现在日历上以分配访问
📅 第 5 步:安排访问(3 分钟)
关键时刻已经到来!我们将告诉程序胡安(您的技术人员)必须去拉帕尔梅拉酒店。
说明
1. 打开议程
操作 → 议程(拖放) (/app/pool-control/planner)。
2. 创建一次性访问
- 按 + 访问(议程顶部)。
- 安排访问模式打开。
- 填写:
- 池 — 您创建的池。
- 技术员 — 第 4 步中的技术用户。
- 日期和时间 — 例如明天 10:00。
- 持续时间 — 至少 15 分钟(默认情况下通常为 60 分钟)。
- 按创建访问。
::: 提示 重复访问 对于每周固定维护,请使用主路线(操作→主路线),而不仅仅是议程中的个人访问。 :::
3.替代方案:从 Dock 中拖动
如果您在议程中看到待处理的工作面板,则可以将访问拖到日历中(取决于权限)。
恭喜! 您刚刚创建了第一次预定访问。
🎉 现在怎么办?
要在日历上查看访问:
- 进入规划
- 搜索您选择的日期 3.您将看到一个蓝色小方块(或技术人员的颜色),上面有池的名称
供技术人员在手机上查看:
1.同一网站:**https://poolcontrolpro.com/login**(可以安装为快捷方式/PWA)。 2. 输入您的电子邮件和密码。 3. 如果您有多个角色,请在个人资料中选择 技术员 视图。 4. 转至 我的路线 — 访问会显示在那里。
✅ 清单:你实现了吗?
检查您是否拥有所有这些:
- [ ] 创建一个客户(Hotel La Palmera 或您输入的那个)
- [ ] 与该客户端关联的池
- [ ] 池已配置 GPS
- [ ] 水池已配置任务(清底等)
- [ ] 一名创建的技术人员(Juan García 或您放置的技术人员)
- [ ] 日历中安排的访问
如果缺少某些内容: 返回相应的步骤。
🆘 如果有些东西对你不起作用......
“我找不到新客户按钮”
→ 操作 → 客户端和池(或管理 → 客户端)。 新客户按钮位于右上角。您需要客户端编辑权限。
###“它不会让我保存” → 查看是否有任何字段标记为红色或带有*。它们是强制性的。
“我创建了访问,但我在日历上没有看到它”
→ 使用日历箭头检查日期。检查议程顶部栏中的技术和区域过滤器。
###“我的技术人员没有收到电子邮件” → 检查垃圾邮件文件夹。如果不存在,请转到“设置”→“团队”,编辑技术人员,然后点击“重新发送邀请”。
🚀 现在怎么办?
您有多种选择:
选择 1:继续练习
👉 完整配置清单 - 100% 运行所需的一切。
选项 2:学习特定函数
👉 使用搜索并写下您想学习的内容(例如:“如何制作发票”)
选项 3:解决问题
👉 转到疑难解答
您已完成第一个设置。现在你知道了:
- ✅ 什么是客户端和池
- ✅ 如何创建访问
- ✅ 日历如何运作
**记住:**这只是练习。只要您愿意,就可以删除此测试数据并从真正的客户开始。
有问题吗? 写信给我们:info@poolcontrolpro.com