🚀 クイックガイド: 最初の 15 分
推定所要時間: 15 ~ 20 分
レベル: 🟢 簡単
完了すると: 最初のクライアント、最初のプール、および予定された訪問が得られます。
🎯 何をしましょうか?
このガイドでは、最初の基本的な手順を実行して、PoolControl がどのように機能するかを確認します。完了すると、次のようになります。
- ✅ 登録済みのクライアント (例: 「ホテル ラ パルメラ」)
- ✅ そのクライアントに関連付けられたプール
- ✅ 割り当てられた技術者 (単独で作業する場合は自分自身)
- ✅ カレンダーに基づいて予定されている訪問
::: ヒント 💡 アドバイス データが本物でなくても心配する必要はありません。これは練習です。その後、すべてを削除して実際に開始することも、作成したものを編集することもできます。 :::
📋 始める前に: これを確認してください
✅ プログラムにアクセスできますか?
- ブラウザを開きます (Chrome を推奨)。
- **https://poolcontrolpro.com/login
** に移動します。 3. 電子メールとパスワードを入力します。 4. 入力後、アプリはのままになります。https://poolcontrolpro.com/app/pool-control (ダッシュボード)。
ダッシュボードが表示され、上部にタブとサイド メニューが表示されます (正確なメニューは役割によって異なります)。
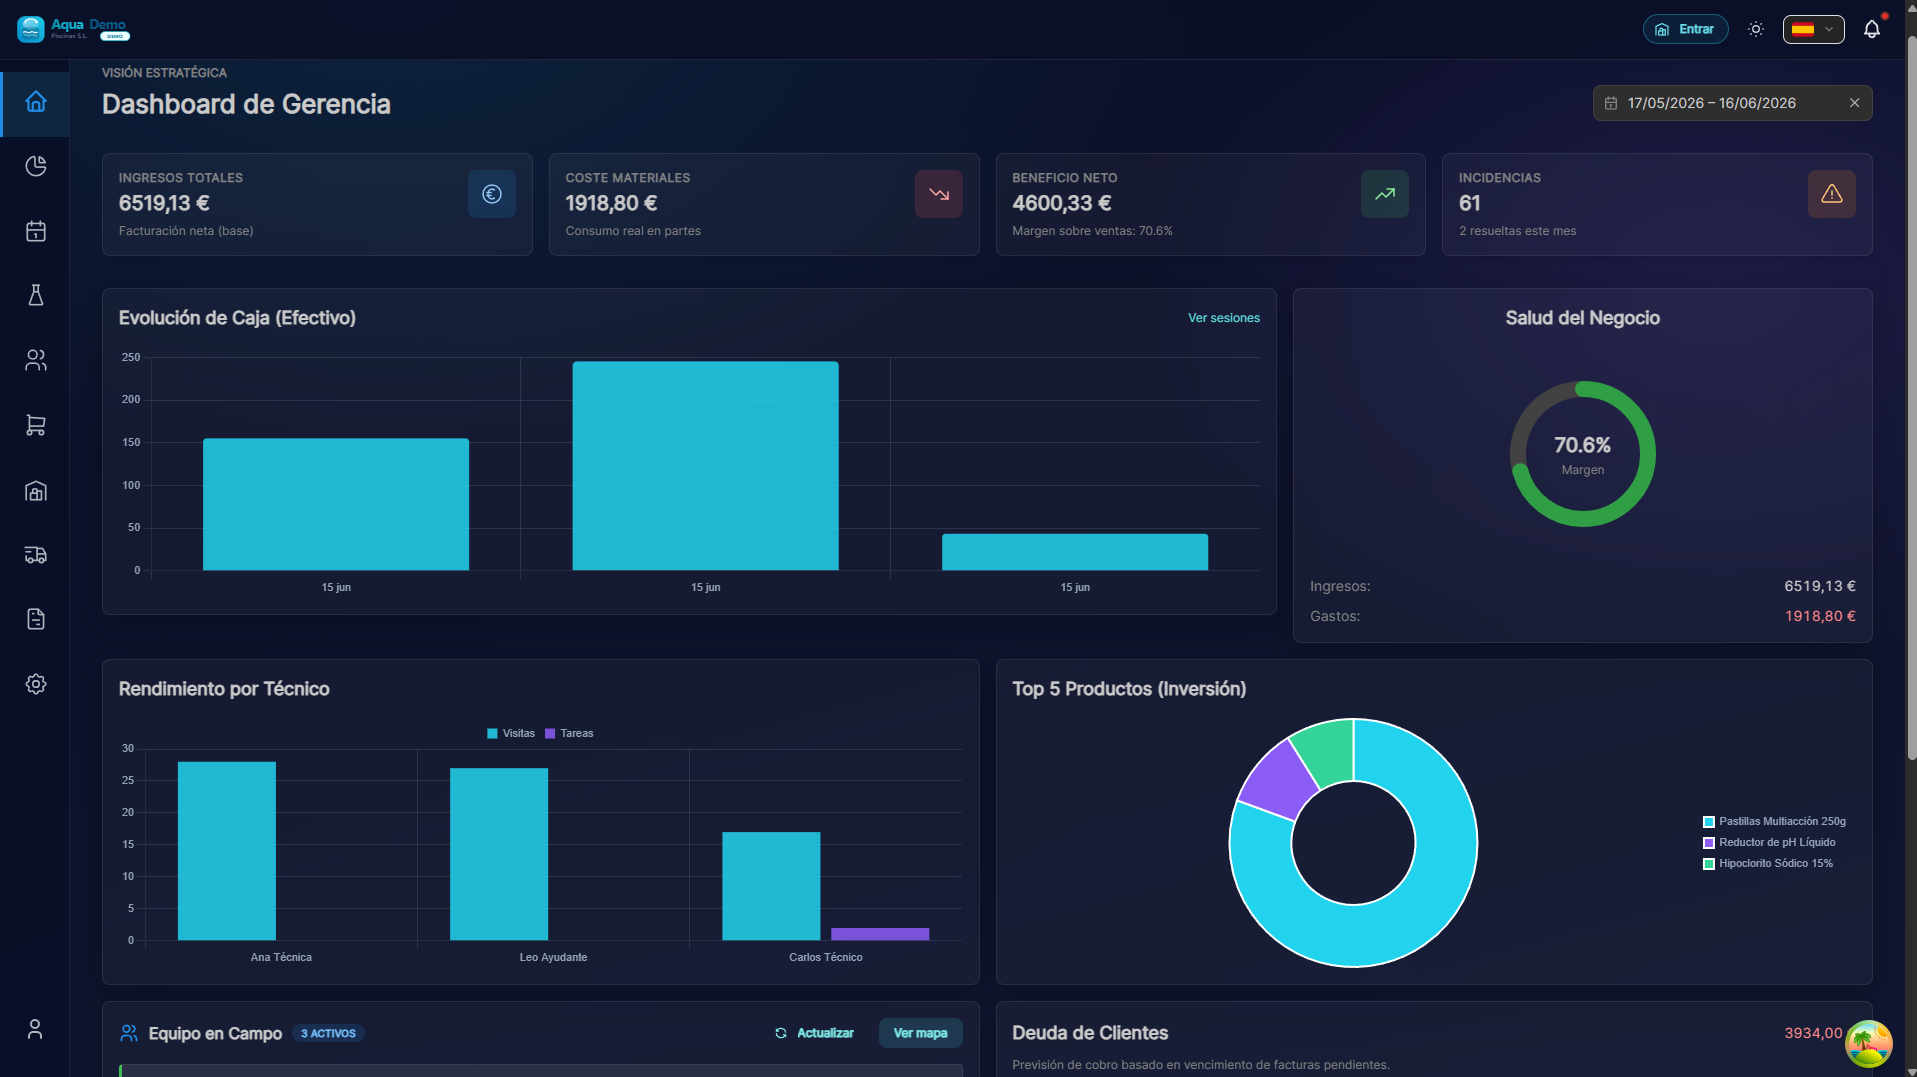
Captura con datos demo AquaDemo.AquaDemo デモ データを使用してキャプチャします。これを見たら: 完璧です!続く。
これが表示されない場合:
- パスワードエラーが発生していますか? →「パスワードをお忘れですか?」を押してください。
- ページが読み込まれていませんか? → インターネット接続を確認してください
- また間違いがありますか? → info@poolcontrolpro.com までご連絡ください。
✅ サイドメニューは表示されていますか?
サイド メニューは左側 (モバイルでは上部) のバーで、「クライアント」、「計画」、「販売」などのオプションがあります。
表示されない場合: 3 本線のアイコン ☰ (ハンバーガー メニュー) を探して押します。
📝 ステップ 1: 最初のクライアントを作成する (3 分)
クライアントとは何ですか?
クライアント とは、プールの清掃にお金を払ってくれる個人または会社です。それは次のとおりです。
- ホテル
- 隣人のコミュニティ
- 個人の家
- スポーツクラブ
ステップバイステップの説明
1. [クライアントとプール] に移動します。
上にタブが表示される場合 (管理者/マネージャー):
- 「操作」タブ。
- クライアントとプール。
従来の単一レベルのメニューが表示された場合: 「管理」→「クライアントとプール」 または 「クライアント」を直接選択します。
直接パス:/app/pool-control/clients#### 2. Press the "New Customer" button
At the top right you will see a button that says "+ New Customer" (or a blue button with a +):
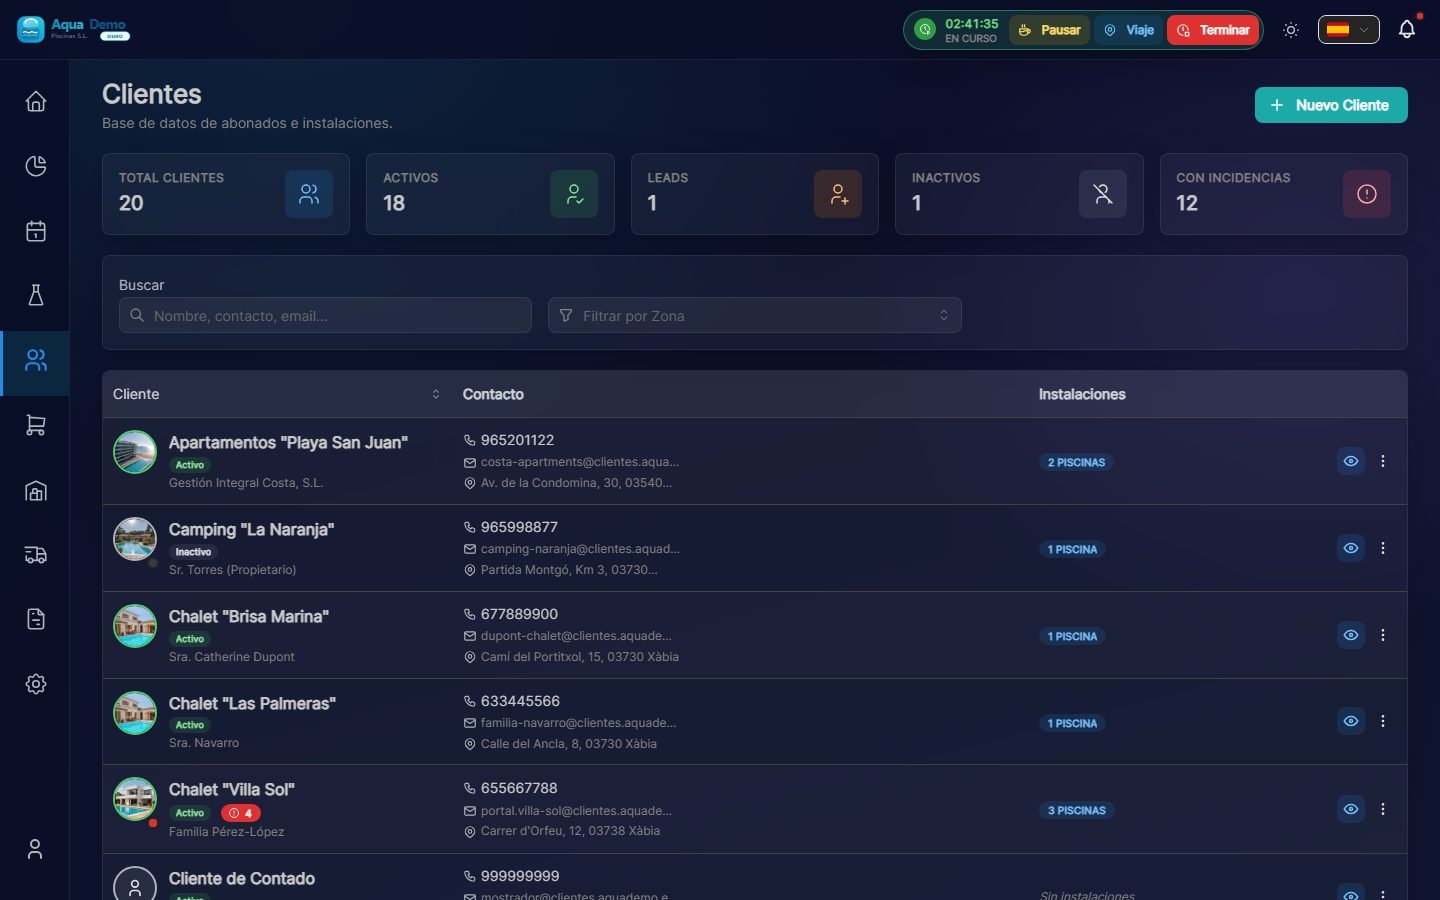
Captura con datos demo AquaDemo.Capture with AquaDemo demo data.
3. Fill in the customer information
A form will open. Let's explain each field:
Field: "Customer Name" (Required)
What to enter: The name of the company or person.
Examples:
- ✅ Hotel La Palmera S.L.
- ✅ Community of Owners El Sol
- ✅ Juan García (private)
- ❌ (do not leave blank)
💡 Trick
If the name contains "Hotel", "Community" or "Club", PoolControl will automatically put a nice icon.
Field: "Customer Type"
What it is: It is used to classify your clients.
Options:
- Active → Normal client you are serving (the majority)- Lead → Potential client who has not yet hired you (you are negotiating)
- Inactive → Client who stopped working with you
What to choose: Select "Active" for this practice.
Field: "Email" (Optional but recommended)
What to enter: The client's email (to send invoices).
Example: recepcion@hotellapalmera.com
Field: "Phone" (Optional)
What to enter: A contact telephone number.
Example: 912345678
Field: "Tax Address"
What to enter: The address that will appear on the invoices. It may be different from the address of the pool.
Example:
- Street: Calle Mayor, 123
- City: Madrid
- Postal Code: 28001
- Province: Madrid
4. Press "Save"
At the bottom you will see a "Save" (or "Create Client") button.
If all goes well: You will see a green message "Customer created successfully" and you will be returned to the customer list where your new customer will appear.
If there is an error: Read the message. Surely you need to fill out a required field (marked with *).
🏊 STEP 2: Add a Pool to the Client (3 minutes)
What is a swimming pool?
The pool is the physical place where you are going to work. A client can have:
- A swimming pool (most houses)
- Various swimming pools (hotels, large communities)
- Pool + jacuzzi (count as 2 different pools)
Step by step instructions
1. Enter the client file
In the customer list, click on the name of the customer (or row) to open the quick view; From there you can go to the complete file:
Captura con datos demo AquaDemo.Capture with AquaDemo demo data.
2. Go to the "Installations" tab
Within the client file you will see tabs such as:
- Facilities ← here are the pools
- Billing (if your role can see it)
- Documents
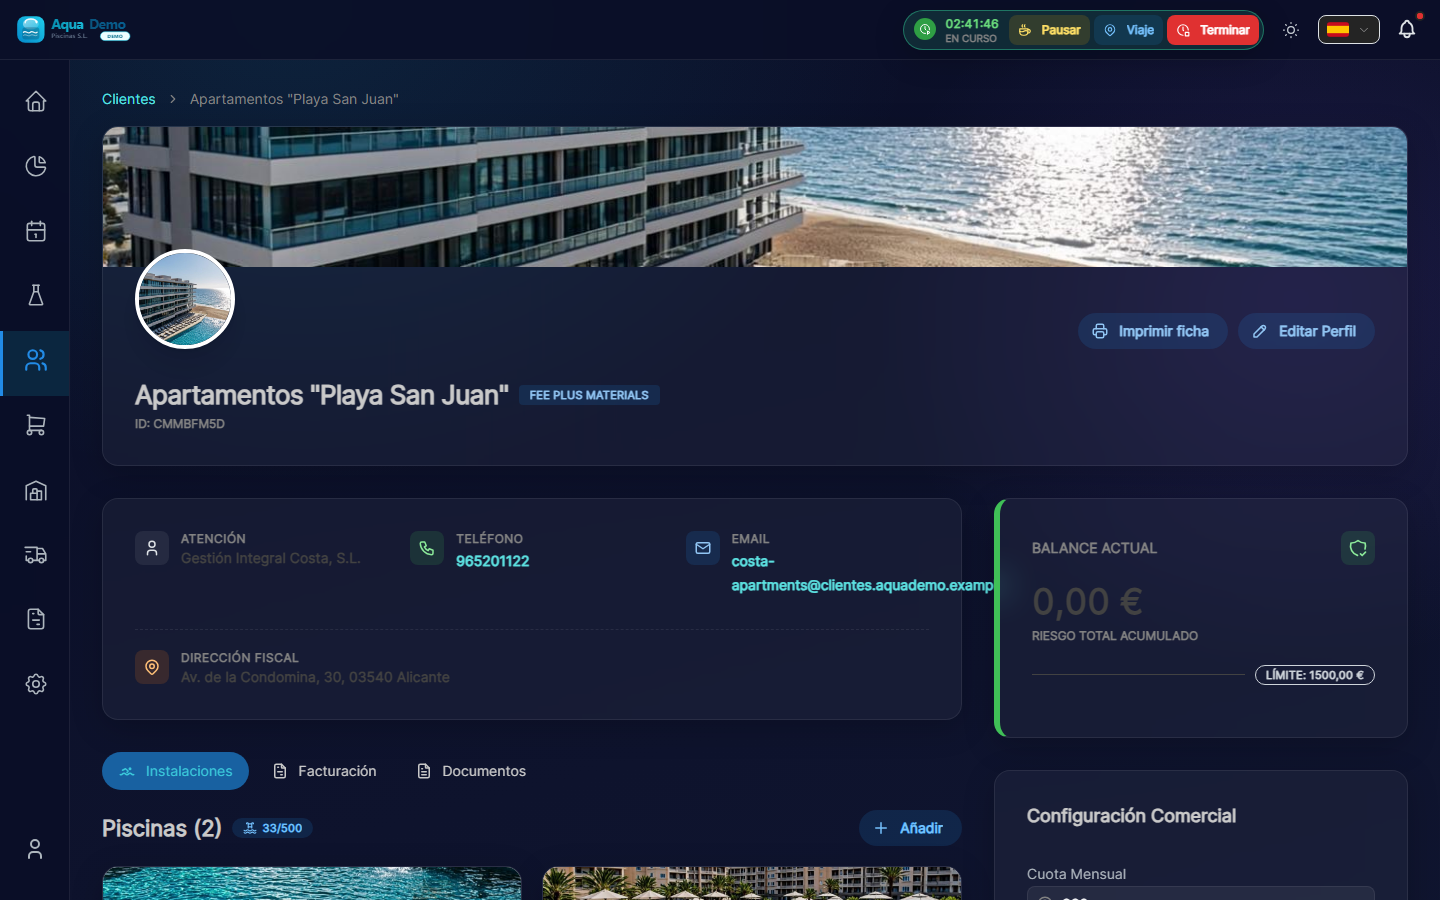
Captura con datos demo AquaDemo.Capture with AquaDemo demo data.
3. Press "Add"
At the top of the list you will see the "Add" button (+ icon).
4. Fill in the pool details
Field: "Pool Name" (Required)
What to enter: A name to identify it.
Examples:
- "Main Pool" (if there is only one)
- "Adult Pool"
- "Children's Pool"
- "Outdoor Jacuzzi"
Field: "Address"
What to put: Where the pool is physically. It may be different from the customer's tax address.
Example:
- Street: El Sol Urbanization, Block 3
- City: Madrid- Postal Code: 28001
Field: "GPS Coordinates" (Very important)
What it is for: So that the technician can navigate with the mobile phone to the exact pool.
How to fill it out:
Option A - Search on the map:
- Press the map button 🗺️
- Type the address in the search bar
- Press "Search"
- Drag the red pin until it is exactly over the pool
- Press "Confirm"
Option B - If you have the exact coordinates:
- Latitude: 40.4168
- Length: -3.7038
⚠️ Important
GPS must be accurate. If you put the pin at the entrance of the building, the technician will get lost. Try putting it right above the pool if it is visible on the satellite, or at the access door to the pool area.
Field: "Pool Type"
Options:
- Public → Shared (communities, hotels, clubs)
- Private → Private house
Select the one that applies.
5. Press "Save"
If all goes well: You will see the pool added to the client's list.
⚙️ STEP 3: Pool maintenance plan (3 minutes, optional)
In the pool file (click its name from Facilities) you will see the block Active Maintenance Plan and, to the right, Add to Service.
Instructions
1. Check the catalog (first time only)
Items come from master tables:
- System (or catalog in Management → Auxiliary Tables): Measurement Parameters and Maintenance Tasks.
If the demo seed already includes pH, chlorine and basic tasks, you can skip this step.
2. Add parameters and tasks to the pool
In the Add to Service column:
- Under PARAMETERS, press for example pH and Free Chlorine.
- Under TASKS, press the ones that apply (pool cleaner, skimmer...).
- For each item you can adjust frequency and thresholds in the Item Configuration modal.
Without an active plan, the technician can still work, but the report will show fewer guided fields.
👷 STEP 4: Create a Technician (or register yourself) (3 minutes)
If you work alone, this step is to register yourself as a technician. If you have employees, you will register them here.
Instructions
1. Go to Team
Tabs: System → Computer.
Path:/app/pool-control/settings/team#### 2.「新入社員」を押します。
3. データを入力します。
フィールド: 「名前」 (必須)
例: フアン・ガルシア
フィールド: 「電子メール」 (必須)
::: 警告 ⚠️重要 このメールは、技術者がアプリに入ることができるようにするためのものです。技術者がアクセスできる実際の電子メールである必要があります。 :::
フィールド: 「役割」
オプション:
- 技術者 → 彼は自分のプールと自分の仕事だけを見ます (これを選択してください)
- マネージャー → ほぼすべてを表示および編集できます
- 管理者 → フルコントロール
何を選択するか: 「テクニカル」
フィールド: 「色」
用途: カレンダー上では、この技術者の訪問はこの色で表示されます。
例: 青
4.「保存」を押します。
今何が起こるか:
- ユーザーが作成されました
- 技術者はアカウントをアクティブ化するための電子メールを受け取ります
- 訪問を割り当てるカレンダーに表示されます
📅 ステップ 5: 訪問をスケジュールする (3 分)
正念場がやって来た!私たちは、Juan (技術者) がホテル ラ パルメラに行かなければならないことをプログラムに伝えます。
指示
1. アジェンダを開く
操作 → アジェンダ (ドラッグ アンド ドロップ) (/app/pool-control/planner)。
2. 1 回限りの訪問を作成する
- [+訪問] (議題の一番上) を押します。
- 訪問のスケジュール モーダルが開きます。
- 以下を入力します。
- プール — あなたが作成したもの。
- 技術者 — ステップ 4 の技術ユーザー。
- 日付と時刻 — たとえば、明日の 10:00。
- 期間 — 最小 15 分 (デフォルトでは通常 60 分)。
- 訪問の作成 を押します。
::: ヒント 繰り返し訪問する 毎週の固定メンテナンスの場合は、アジェンダ内の個別の訪問だけでなく、マスター ルート (操作 → マスター ルート) を使用してください。 :::
3. 別の方法: ドックからドラッグする
予定表に [保留中の作業] パネルが表示されている場合は、訪問をカレンダーにドラッグできます (権限に応じて)。
おめでとうございます! 最初の予約された訪問が作成されました。
🎉 今どうなってるの?
カレンダーで訪問を表示するには:
- 計画に進みます
- 選択した日付を検索します
- プールの名前が記載された小さな青い四角 (または技術者の色) が表示されます。
技術者がモバイルで確認するには:
- 同じ Web サイト: https://poolcontrolpro.com/login (ショートカット/PWA としてインストール可能)。
- メールアドレスとパスワードを入力してください。
- 複数の役割がある場合は、プロファイルで 技術者 ビューを選択します。
- My Route に移動します。そこに訪問が表示されます。
✅ チェックリスト: 達成しましたか?
以下がすべて揃っていることを確認してください。
- [ ] クライアントが作成しました (ホテル ラ パルメラまたはあなたが配置したもの)
- [ ] そのクライアントに関連付けられたプール
- [ ] プールには GPS が設定されています
- [ ] プールには設定されたタスクがあります (底部の掃除など)
- [ ] 作成されたテクニシャン (フアン・ガルシアまたはあなたが配置したテクニシャン)
- [ ] カレンダーで予定されている訪問
何かが不足している場合: 対応するステップに戻ります。
🆘 何かうまくいかない場合は...
「新規顧客ボタンが見つかりません」
→ 操作 → クライアントとプール (または管理 → クライアント)。 新規顧客 ボタンは右上にあります。クライアントの編集権限が必要です。
「これでは救われません」
→ 赤色または * が付いているフィールドがあるかどうかを確認してください。それらは必須です。
「訪問を作成しましたが、カレンダーに表示されません」
→カレンダーの矢印で日付を確認してください。アジェンダの上部バーにある テクニカル フィルターと ゾーン フィルターを確認します。
「技術者がメールを受信しません」
→迷惑メールフォルダを確認してください。そこにない場合は、[設定] → [チーム] に移動し、技術者を編集して、[招待を再送信] をタップします。
🚀 さてどうする?
いくつかのオプションがあります。
オプション 1: 練習を続ける
👉 完全な構成チェックリスト - 100% 稼働するために必要なものがすべて揃っています。
オプション 2: 特定の機能を学ぶ
👉 検索 を使用して、学びたいことを書いてください (例: 「請求書の作り方」)
オプション 3: 問題を解決する
👉 トラブルシューティング に移動します。
最初のセットアップが完了しました。これで次のことが分かりました。
- ✅ クライアントとプールとは何ですか
- ✅ 訪問の作成方法
- ✅ カレンダーの仕組み
覚えておいてください: これは単なる練習です。必要に応じていつでもこのテスト データを削除して、実際の顧客から始めてください。
ご質問がありますか? info@poolcontrolpro.com までご連絡ください。